

July 2022
What are vital signs?
Vital signs are sometimes called life signs. They are core signs that are checked on a casualty to help assess their current state of health, stability or change due to ongoing illness or injury. They include colour, temperature, breathing, pulse and alertness and are checked on a regular basis during your time with the casualty. If you are with the casualty for some time before emergency services arrive, monitoring the casualty’s vital signs is essential.
When should I assess vital signs in a casualty?
Once you have completed your Primary Survey (Airway, Breathing, Circulation checks) and a call has been made to emergency services if required, start monitoring your casualty’s vital signs. Do this whether they are conscious or unconscious. Always talk reassuringly to your casualty, tell them what your doing even if they are unconscious.
If there is a significant change is your casualty’s vital signs, call 999/112 again.
Where should I check vital signs?
Vital signs are best checked in the core area of the casualty. The core area is generally between the head and the thighs. Within this area are the core elements of our being – the brain, heart, lungs, vital organs and large blood vessels. When a casualty is injured or ill, the core will reflect changes in their stability as the body reacts to protect the vital organs and brain. This may lead to a condition called shock where the body starts to close down the outer circulation to protect the vital organs and brain. Read more about the causes and first aid for shock here. #####
How do I record vital signs in a casualty?
Record your readings regularly – every 15 minutes or shorter time frames depending on the severity of injury or illness in your casualty. Children and the elderly can change very rapidly so shorter time frames are recommended for them.
You can use our FREE downloadable casualty monitoring card for this purpose.
When writing your recordings down, avoid using the words ‘normal’ or ‘same as me’ as everyone’s normal is different. Use the words below such as ‘warm and dry’ ‘regular’ ‘strong’ etc.
Normal and abnormal vital signs to look for in your casualty:
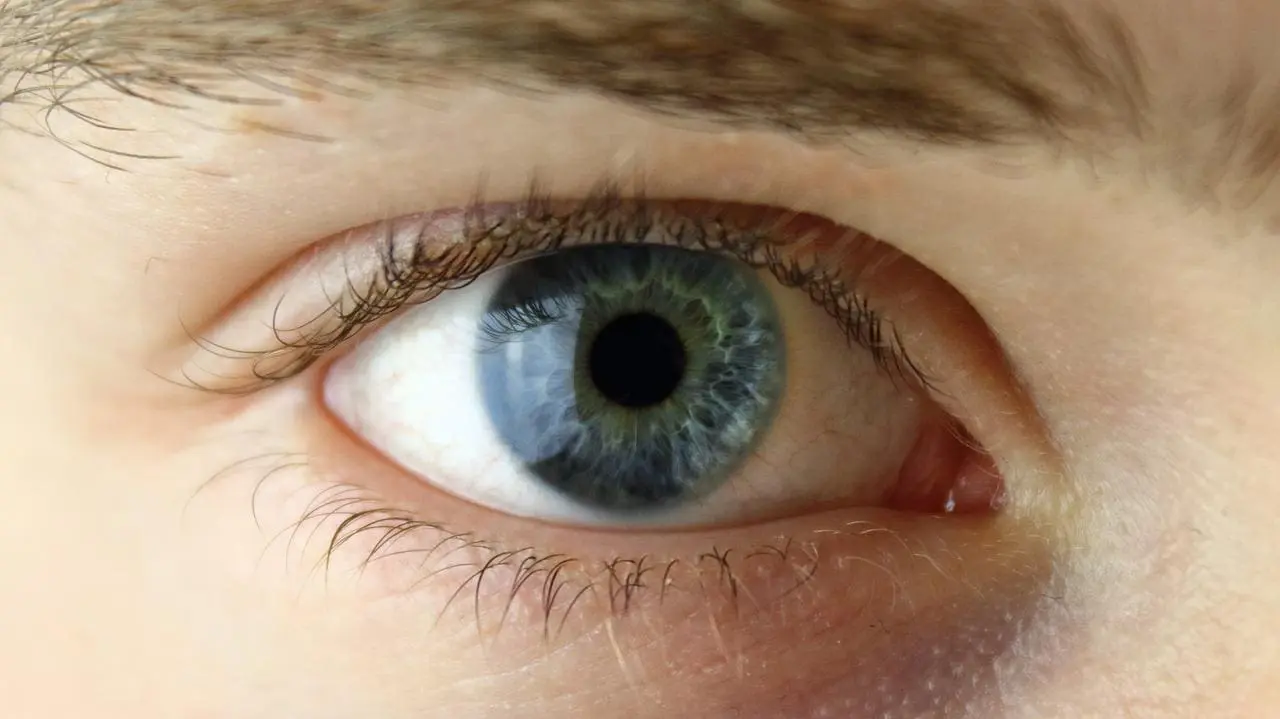
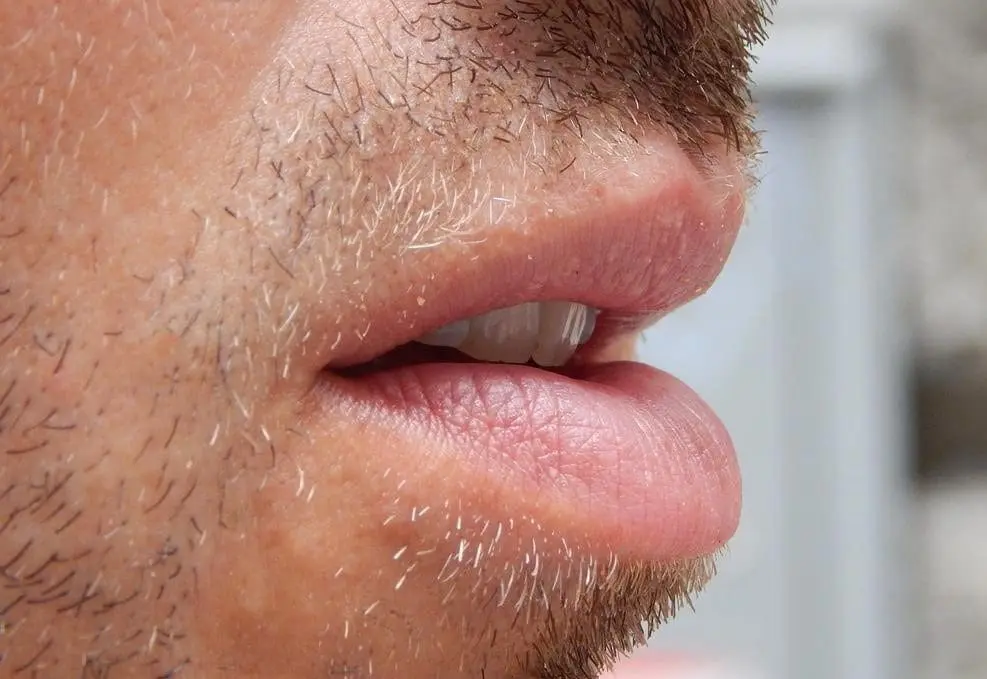
Colour
Our normal healthy colour is pink. Look for this in the inside of the lips, gums or in the eyelids or sockets. The pink colour reflects a level of good oxygenated blood in the circulatory system.
Abnormal colour would be grey/blue reflecting low oxygen levels, bright cherry red due to carbon monoxide poisoning or yellow with jaundice. Other illnesses and injuries will manifest as a colour change but your job as a first aider is to record what you see at that moment, not guess or diagnose the cause. Observe and record what you see.
Capillary Refill can also be used to assess peripheral circulation on a regular basis. This involves pressing firmly on their cheek bone or forehead, releasing your finger and counting how many seconds it takes to refill the pressed area with blood. 1-2 seconds is normal. Capillary Refill is a good reflection of changes in circulation, especially in the elderly and young. It is also useful to compare and contrast an injured limb Capillary Refill rate with that of an uninjured one. A slowing rate of Capillary Refill may be a sign of compromised blood flow in the injured limb.
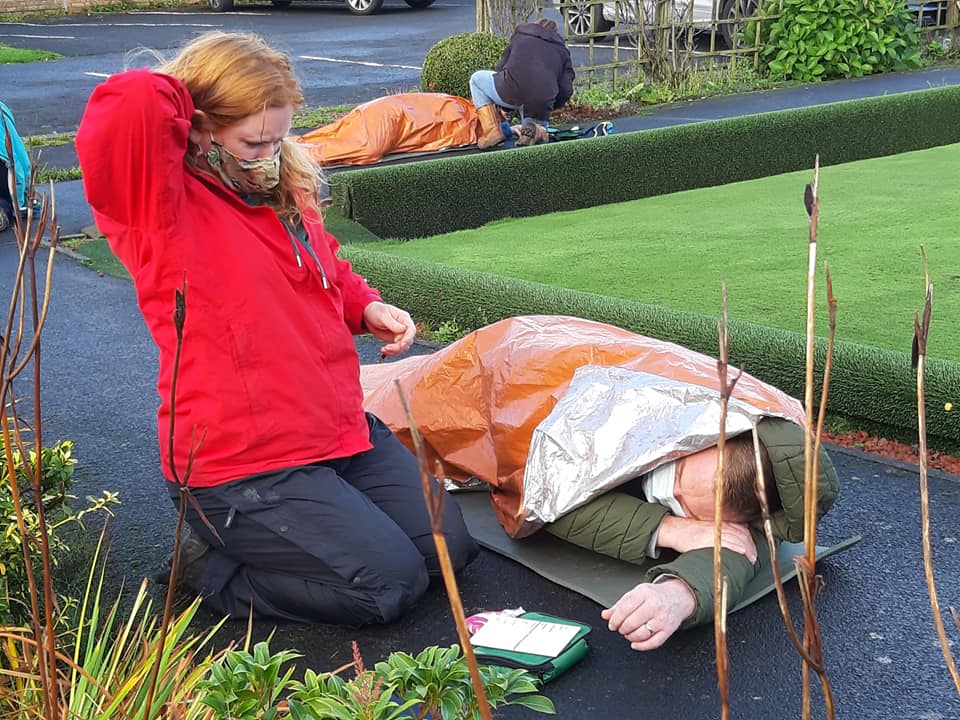
Temperature
Our normal temperature is 37C although not many first aid kits have a thermometer in them. However, you can use your hand to monitor their temperature. Put your hand at the top of your spine at the back of your collar – hold it there until your hand becomes the same temperature as your core – your own calibrated thermometer! Then, using your ‘calibrated’ hand, check your casualty’s temperature at the back of their collar near the top of their spine. It should be warm and dry. You can regularly compare and contrast your temperature with your casualty’s using this method.
Abnormal temperatures would be hot and wet (infection) hot and dry (heat stroke), cold and wet (shock) or cold and dry (hypothermia).
Regularly checking for any change in the temperature of your casualty is essential as their injuries may lead to shock – they can become anxious, cold and wet very quickly which is indicative of shock.
Monitor and record your results regularly.
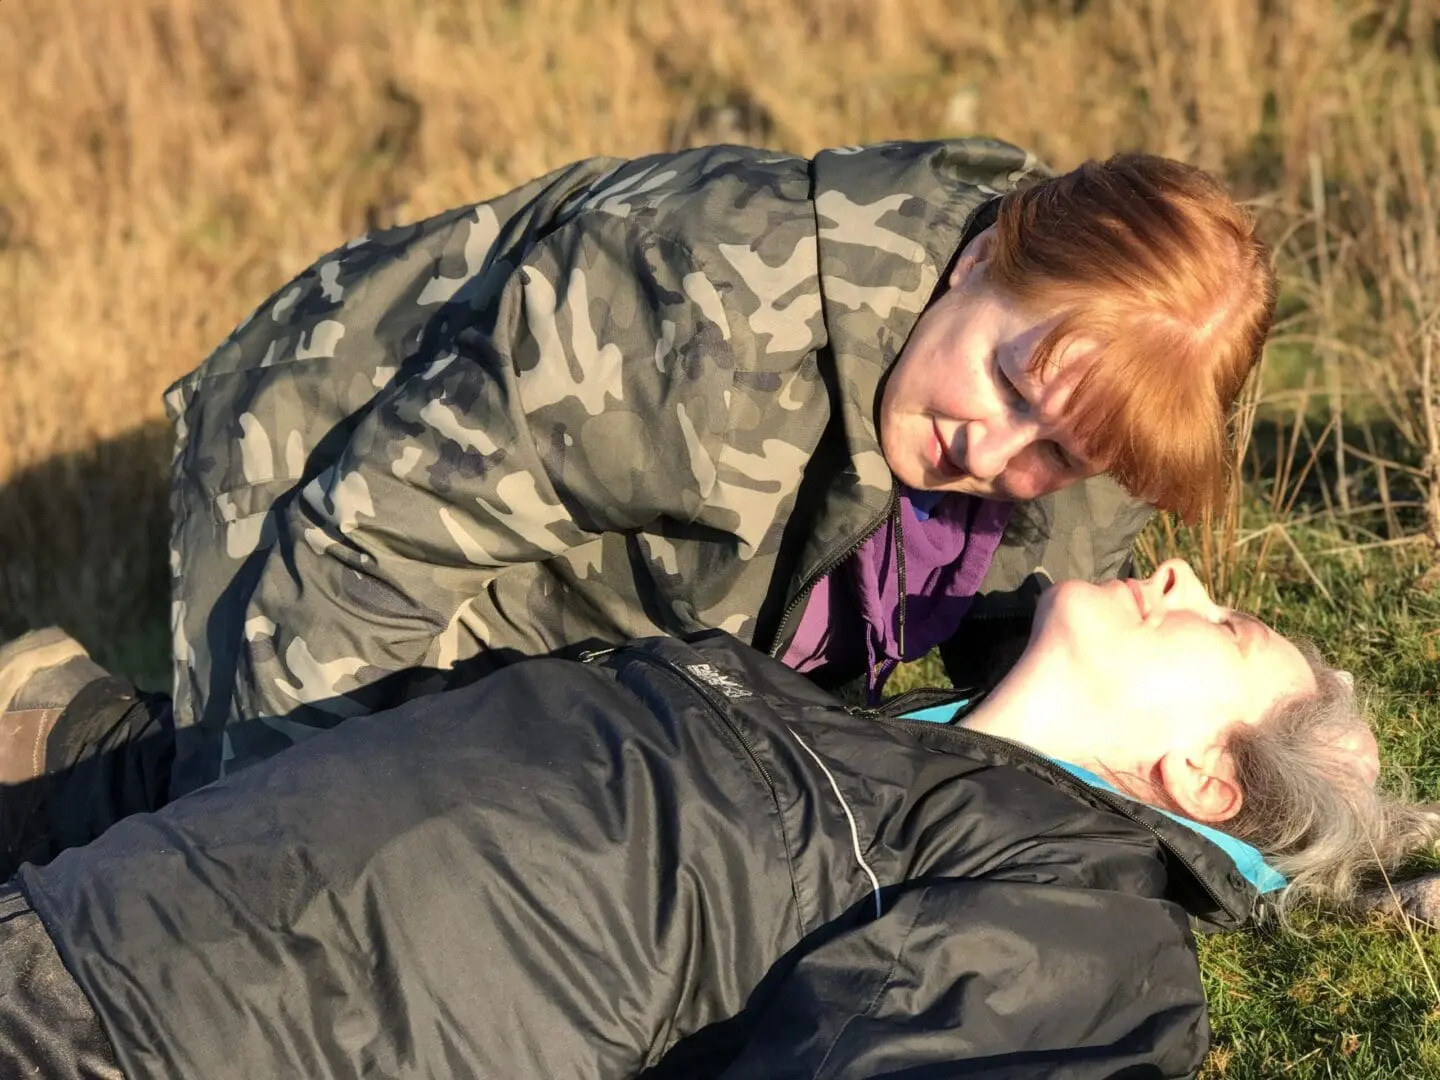
Breathing
As well as checking that they ARE breathing, assessing your casualty’s breathing RATE and DESCRIPTION is essential.
Look, listen and feel the quality and regularity of their breathing by putting your ear next to their mouth, look down to their belly and count how many breaths they do in 10 seconds. One breath is a complete breath – in and out or rise and fall of the belly or chest. An average adult will breathe between 2-3 per 10 seconds or 12-18 breaths per minute.
When you record their breathing think about the descriptive words you would use.
Normal would be quiet and regular.
Abnormal breathing might be describes as irregular, gaspy, wheezy, raspy, gurgly or other words that best describe what you see, hjear or feel. These descriptive words will help emergency services control centre ascertain what might be wrong with your casualty and effect what advice they give you over the phone.
Monitor and record your results regularly.
Pulse
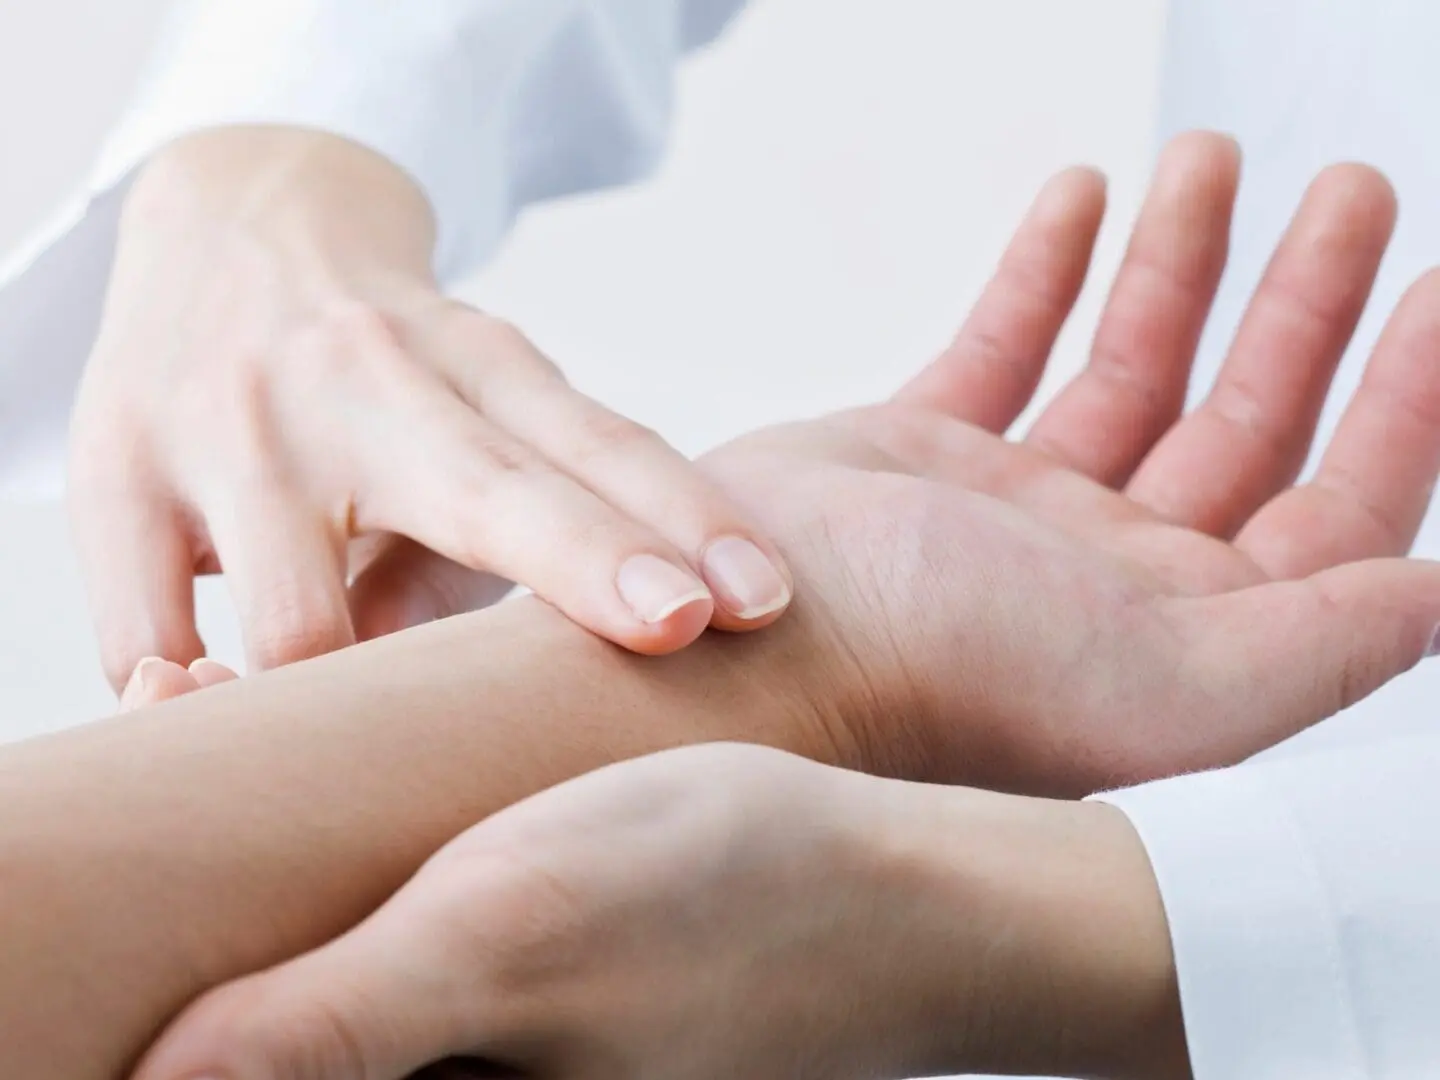
The pulse is the beat of the heart. We monitor the RATE and the STRENGTH of the pulse.
Where do you take a pulse? It can be detected as the blood flows in an artery and passes over a compressed area close to the surface of the body.
The most common ones are in the neck (carotid pulse) and wrist (radial pulse). If you’re outdoors or if the casualty has an injured arm, it’s best to stick to the ‘core’ area of the casualty and use the neck.
Pulse rate – The rate of an average adult will vary between 60-100 beats per minute or 15-25 per 15 seconds. This will vary with the fitness and size of the casualty.
Pulse strength – As well as recording the rate, we should also record the strength of the pulse. Is it strong, weak, rapid, bounding? Don’t press too hard. Be alert to the strength and rate of the pulse. Also be aware that some people have an irregular pulse rate. If this is the case, count their pulse for one full minute. Describing the strength of the pulse will help emergency services immensely.
A pulse can be also found in other points in the body, which may be useful for monitoring that area if it is injured or to assess any compromised blood flow due to internal injuries, crush injuries or catastrophic bleeding.
Other pulse points can be found in the groin (femoral artery), behind the knee (popliteal artery), at the ankle joint (posterior tibial artery), on the foot (dorsalis pedis artery). It is worthwhile practicing finding these points on yourself (or a good friend!) to know where to check for a pulse before you might need to do it on a casualty.
In some situations, you may wish to check several pulse points. Weather and temperature can play a part in your casualty’s pulse but if you start from extremities and work in to the core, you have a good all-round base line to work from and not just relying on one good one.
You can also do a ‘compare and contrast’ between limbs. For example, if someone has a broken leg compare the pulse on their injured leg with that on their good leg.
Can’t find a pulse? Some people find it difficult to find a pulse. Persevere – and practice finding pulses on yourself, your friends, family and colleagues to get your confidence up.
Once you find a pulse, it’s useful to mark it so you, or another helper, can easily find it again and also the emergency services know where you’ve taken the pulse reading from.
Monitor and record your results regularly.

Using a pulse-oximeter to check pulse and oxygen levels in a casualty.
These finger tip devices are useful in some settings and give you a reasonably accurate pulse and blood oxygen reading. They are not as accurate as NHS devices but as long as they are accurate to themselves, they can be a useful monitoring tool.
Be aware though that the hands/fingers might be cold and not give an accurate pulse compared to the neck pulse and the battery level of the device may affect the readings. It’s also worth noting that nail varnish, smokers’ fingers (stained) can inhibit the device’s work. In this case, you can use a toe for the device. However, First aiders always need to be able to take the pulse manually, not rely on devices.
Alertness – AVPU
AVPU is an internationally recognised alertness level check and is an essential skill for first aiders.
AVPU stands for Alertness, Voice, Pressure and Unresponsive. It is a simple scale that shows a casualty’s level of consciousness from fully alert to totally unresponsive.
How do I check a casualty’s alertness?
A – ALERT – they can answer questions sensibly, look you in the eye and respond to your questions and instructions.
V – VOICE – they are only responding to a voice or verbal command. As them to open their eyes, blink or smile. These are simple commands and easy muscle actions to do.
P – PRESSURE. Apply some pressure whilst watching their face for any response. They may groan. Apply pressure using your thumbs into the top of their chest above their collar bone. Tell them to open their eyes if they can feel that.
U – UNRESPONSIVE. If they are unresponsive to any stimulus, shout for help.
When the emergency services arrive, hand over your record sheet. It may be useful for you to take a photo or scan of it before you do this
Watch our video on monitoring a casualty including their vital signs.
Get confident – get trained!
Knowing what to do BEFORE it happens is essential and attending a first aid course will give you the knowledge and the confidence to deal with many first aid incidents. Our courses are structured to give you confidence in dealing with an incident as well as the competence to do good quality first aid. Find out more about our range of First Aid courses here.
Everyone on our courses receives a FREE digital first aid manual. We have a range of manuals relevant to the courses we teach – Outdoor, First Aid at Work, Paediatric, Equestrian and Sports. They are a great resource that you can download onto your phone or other device and have all that first aid knowledge at your fingertips. You can view them and buy them for less than £4 here.